Visualization#
Viewer#
The Qt widget that displays the world can be run in a script, using a blocking loop, like in Hello Thymio, or in an interactive session that does not block and allows to visualize the world while manipulating it.
Standalone#
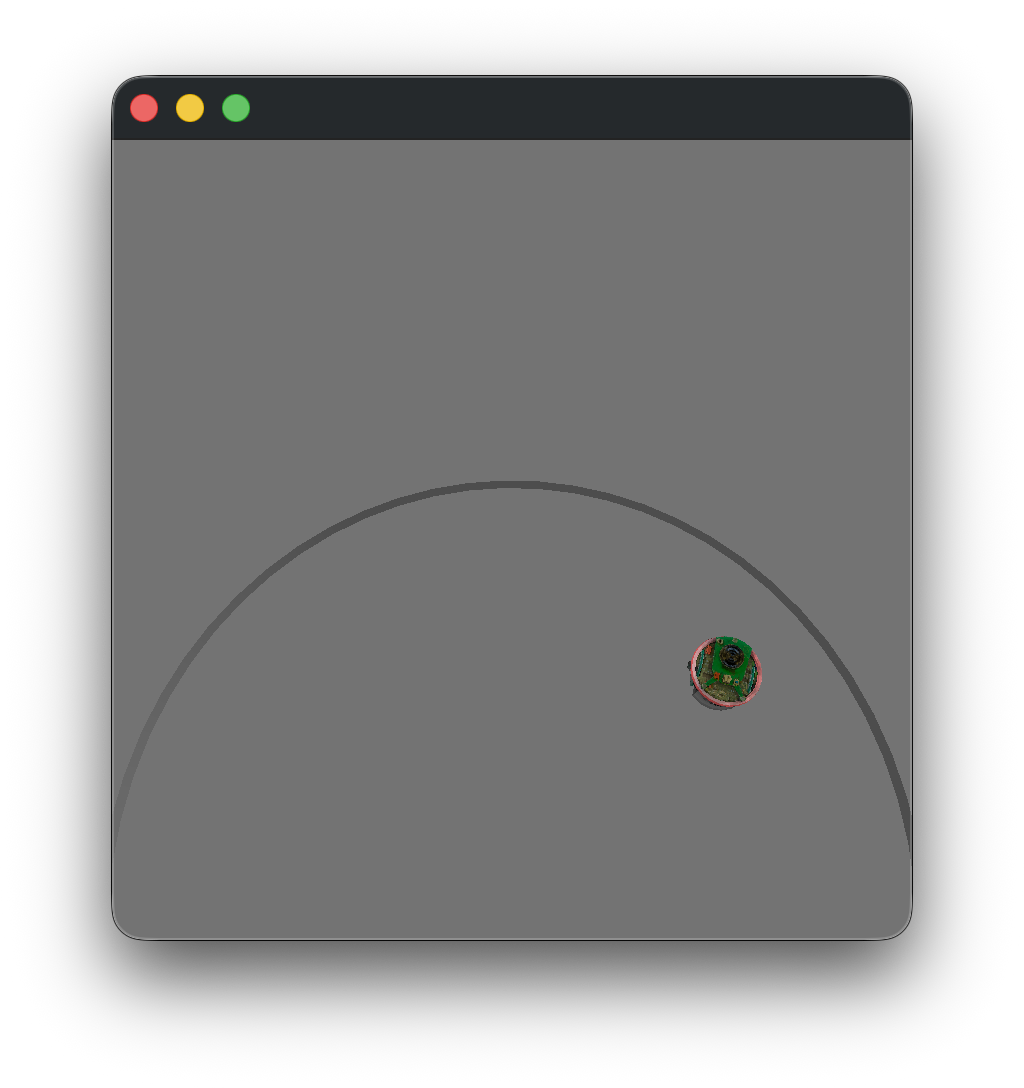
In this example, we instantiate a pyenki.viewer.WorldView that shows a world running in real-time:
import pyenki
import pyenki.viewer


def create_world() -> pyenki.World:
    world = pyenki.World(radius=40)
    epuck = pyenki.EPuck(camera=False)
    epuck.position = (20, 20)
    epuck.left_wheel_target_speed = 10.0
    epuck.set_led_ring(True)
    world.add_object(epuck)
    return world


def main() -> None:
    # Needs to be called before creating the first view
    world = create_world()
    pyenki.viewer.init()
    viewer = pyenki.viewer.WorldView(world=world, walls_height=2)
    viewer.reset_camera()
    viewer.show()
    viewer.start_updating_world(0.1)
    # executes the runloop for a while
    pyenki.viewer.run(duration=10)
    pyenki.viewer.cleanup()


if __name__ == '__main__':
    main()
Integrated in PySide or PyQt#
The pyenki.viewer.WorldView can be integrated as any other Qt widget in a more complex interface.
In these example, we manually create and run a Qt application, with a window that displays a world from two different points of view (using either PyQt6 or PySide6)
import pyenki
import pyenki.viewer

from world_view import create_world


def main() -> None:

    # PyQt6 requires the native viewer implemented in C++
    assert pyenki.viewer.use_native

    from PyQt6.QtCore import QCoreApplication, Qt
    from PyQt6.QtWidgets import QApplication, QHBoxLayout, QWidget

    # equivalent to pyenki.viewer.init()
    # needs to be called before creating the first widget
    QCoreApplication.setAttribute(
        Qt.ApplicationAttribute.AA_ShareOpenGLContexts),
    app = QApplication([])

    world = create_world()
    viewer_1 = pyenki.viewer.WorldView(world=world,
                                       camera_position=(-20, -20),
                                       camera_altitude=20)
    viewer_1.point_camera(target_position=(20, 20), target_altitude=5)
    viewer_2 = pyenki.viewer.WorldView(world=world,
                                       helpers=False,
                                       camera_altitude=30,
                                       camera_is_ortho=False)
    viewer_2.move_camera(target_position=(20, 20),
                         target_altitude=10,
                         yaw=-1,
                         pitch=-0.5)
    window = QWidget()
    hbox = QHBoxLayout(window)
    window.resize(960, 320)
    # Note that we get a PyQt compatible widget
    # with `pyqt_widget`
    hbox.addWidget(viewer_1.pyqt_widget)
    hbox.addWidget(viewer_2.pyqt_widget)
    window.show()
    viewer_1.start_updating_world(0.1)
    app.exec()


if __name__ == '__main__':
    main()
from typing import cast

import pyenki
import pyenki.viewer

from world_view import create_world


def main() -> None:

    # PySide6 requires the viewer implemented in Python
    assert not pyenki.viewer.use_native

    from pyenki.viewer.utils import setup_context
    from PySide6.QtCore import QCoreApplication, Qt
    from PySide6.QtWidgets import QApplication, QHBoxLayout, QWidget

    world = create_world()
    # replaces pyenki.viewer.init
    # needs to be called before creating any widget
    QCoreApplication.setAttribute(
        Qt.ApplicationAttribute.AA_ShareOpenGLContexts),
    setup_context()
    app = QApplication([])

    world = create_world()
    viewer_1 = pyenki.viewer.WorldView(world=world,
                                       camera_position=(-20, -20),
                                       camera_altitude=20)
    viewer_1.point_camera(target_position=(20, 20), target_altitude=5)
    viewer_2 = pyenki.viewer.WorldView(world=world,
                                       helpers=False,
                                       camera_altitude=30,
                                       camera_is_ortho=False)
    viewer_2.move_camera(target_position=(20, 20),
                         target_altitude=10,
                         yaw=-1,
                         pitch=-0.5)
    window = QWidget()
    hbox = QHBoxLayout(window)
    window.resize(960, 320)
    hbox.addWidget(cast('QWidget', viewer_1))
    hbox.addWidget(cast('QWidget', viewer_2))
    window.show()
    viewer_1.start_updating_world(0.1)
    app.exec()


if __name__ == '__main__':
    main()

In a notebook#
We support visualizing a simulation inside Jupyter notebooks thanks to jupyter_rfb:
import pyenki

world = pyenki.World()
thymio = pyenki.Thymio2()
thymio.left_wheel_target_speed = 10
world.add_object(thymio)
from pyenki.buffer import EnkiRemoteFrameBuffer

w = EnkiRemoteFrameBuffer(world=world)
w
await w.run_async(time_step=0.1, duration=5)
See also
Render an image#
To render a single image (and/or save it), we can run:
import pyenki
import pyenki.viewer

pyenki.viewer.init()
world = pyenki.World(radius=100)
epuck = pyenki.EPuck()
epuck.set_led_ring(True)
epuck.position = (0, -12)
world.add_object(epuck)
thymio = pyenki.Thymio2()
thymio.set_led_top(red=1)
thymio.position = (0, 0)
world.add_object(thymio)
marxbot = pyenki.Marxbot()
marxbot.position = (0, 20)
world.add_object(marxbot)
pyenki.viewer.save_image(world,
                         "world.png",
                         camera_position=(30, -10),
                         camera_altitude=20,
                         camera_yaw=2.6,
                         camera_pitch=-0.487,
                         width=1280,
                         height=720)
pyenki.viewer.cleanup()
print('saved world.png')
Generate a video#
To generate a video from a simulation, we can run:
import pyenki
import pyenki.viewer
from pyenki.video import make_video

pyenki.viewer.init()
world = pyenki.World()
thymio = pyenki.Thymio2()
thymio.left_wheel_target_speed = 10
thymio.right_wheel_target_speed = -6
thymio.set_led_circle(-1, 1.0)
thymio.set_led_buttons(0, 1.0)
thymio.set_led_buttons(2, 1.0)
thymio.set_led_top(1.0, 0.0, 0.3)
world.add_object(thymio)

v = make_video(world,
               time_step=0.033,
               duration=20,
               camera_position=(0, -20),
               camera_altitude=20,
               camera_pitch=-0.7,
               camera_yaw=1.5,
               width=1280,
               height=720)

v.write_videofile('world.mp4', fps=30)
pyenki.viewer.cleanup()
print('saved world.mp4')